

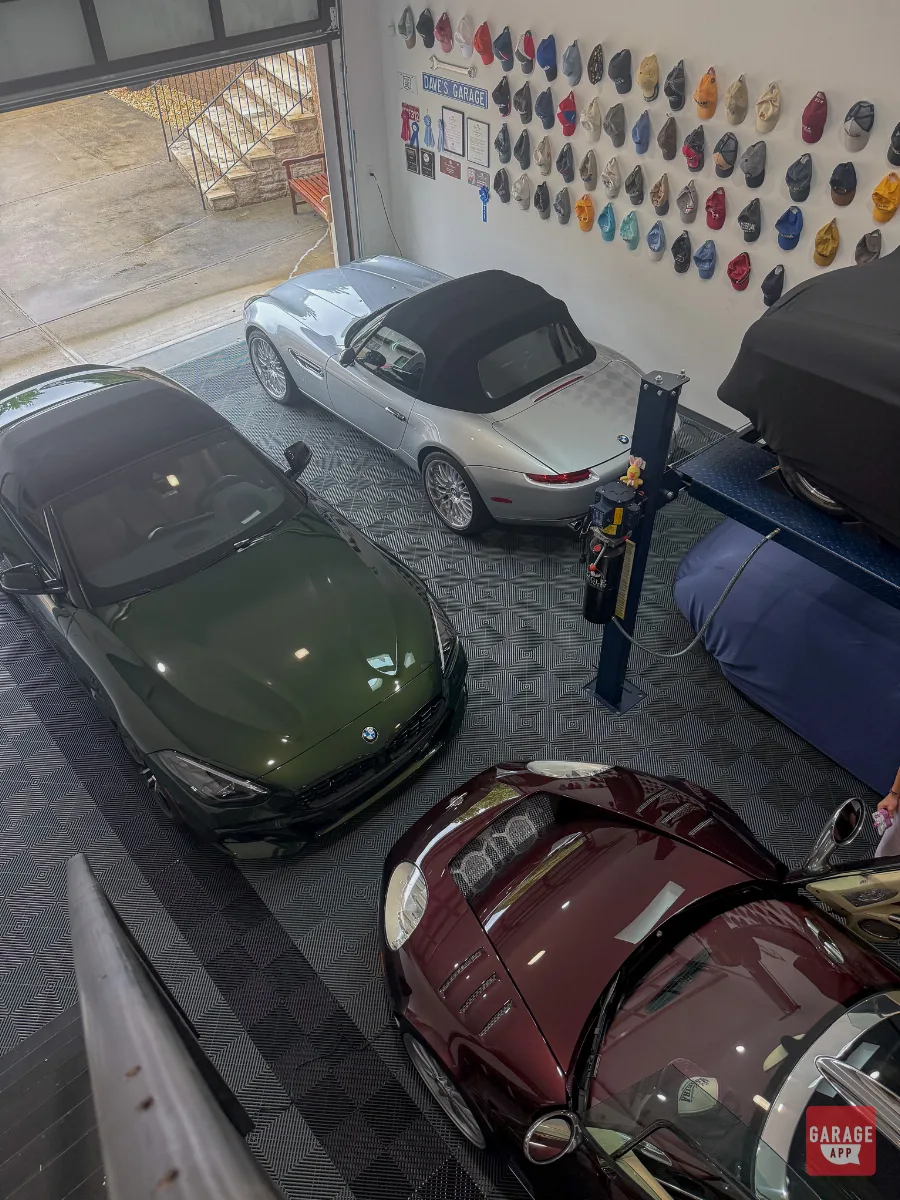
Short answer on epoxy vs polyaspartic garage floor coatings, with tiles thrown in: epoxy is the budget seamless option but needs days to cure. Polyaspartic cures in hours and resists UV, at a higher cost. Interlocking tiles snap down in an afternoon with no grinding, but seams can trap salt and moisture. Climate and the dream garage setup decide it.
Here's the hook. The floor is the one surface in your garage that touches everything: coolant drips, dropped sockets, creeper wheels, jack stands, and whatever your tires drag in from the road. Pick wrong and you get a peeling coating by year two, or a tile floor hiding a slurry of salt water underneath. Pick right and you stop thinking about the floor at all, which is the point. This is a floor-only comparison of the most common garage floor options, written for people who actually work in their garages, and a must-need comparison for people who want an organized garage.
Epoxy vs. Polyaspartic vs. Tiles at a Glance
| Factor | Epoxy | Polyaspartic | Interlocking Tiles |
|---|---|---|---|
| Cost | $5 to $12/sq ft installed, one installer quote | Materials roughly 20 to 30% more than epoxy | $3 to $8/sq ft, materials only |
| Cure time | Surface hard in about 24 hours; 3 to 7 days before driving | Walkable in hours; often drivable in about 24 hours | None; usable as soon as it is laid |
| Durability | Tough and seamless when the prep is right | Better UV stability than epoxy | Hot tires and jack stands can deform or crack tiles |
| Road salt | Seamless surface, nowhere for brine to hide | Seamless surface, nowhere for brine to hide | Seams can trap salt and moisture |
| DIY-ability | Possible, but grinding prep is the make-or-break step | Harder; humidity-sensitive during application | Easiest; snap together in an afternoon |
Epoxy: The Budget Seamless Coating
Epoxy is a two-part resin. You mix a resin and a hardener, and the chemical reaction turns it into a hard, seamless surface bonded to the concrete. That bond is everything, and it lives or dies on prep. The key step is diamond grinding, which opens up the concrete's surface so the coating has something to grip. Skip it, or swap it for a quick acid etch and a prayer, and you're the guy with tire-shaped peel marks in his floor a year later. That's not a coating problem. That's a prep problem.
The trade-off is time. An epoxy floor is typically hard to the touch in about 24 hours, but you're looking at 3 to 7 days before you can drive on it. If your project car lives in that garage, plan where it sleeps for a week. One installer quotes $5 to $12 per square foot installed, which makes epoxy the entry point for a real seamless coating.
Ask any installer exactly how they prep. If the answer is not diamond grinding, or they can't explain how they deal with cracks and old oil stains, keep shopping.
Polyaspartic: Faster Cure, Higher Price
A polyaspartic garage floor coating is the impatient person's answer to epoxy. It's walkable in hours and often drivable in about 24 hours. That alone sells it to anyone who can't park a car on the driveway for a week, or who just doesn't want to. It also has better UV stability than epoxy, which matters if your garage door stays open on sunny afternoons or you have windows throwing light across the floor.
It costs more. Materials run roughly 20 to 30% more than epoxy. And that fast cure cuts both ways: polyaspartic is sensitive to humidity during application, and the short working window leaves little room for mistakes. This is where DIY-ability drops off and pros earn their money.
In practice, you'll often see polyaspartic used as a topcoat over an epoxy base. Think of it the way you'd think about protecting paint with a coating: the base does the structural work, the top layer takes the abuse. If you've ever weighed up a ceramic coating on your car, the logic will feel familiar. Our take: if your budget stretches, the epoxy base with a polyaspartic topcoat is the best garage floor coating setup for an owner who keeps the house.
Interlocking Tiles: The Afternoon Install
Interlocking garage floor tiles are the opposite philosophy. No grinding, no mixing, no cure time. You lay them out, snap them together, and park the car the same day. Materials run about $3 to $8 per square foot, and a reasonably handy person can cover a typical garage in an afternoon. They're also removable, which is huge if you rent or plan to move.
The downsides are real, though. Seams can trap salt and moisture underneath, out of sight. And tiles don't love point loads and heat: hot tires and jack stands can deform or crack them. If you regularly lift cars, a set of jack stands sitting on plastic tiles for days isn't ideal. In the garage floor tiles vs epoxy argument, tiles win on convenience and lose on seamless protection.
If you go with tiles but still do your own wrenching, put a sheet of plywood or steel plate under jack stands to spread the load instead of letting the feet sit directly on the tile.
What About Polished Concrete?
Worth a mention because some people skip coatings entirely. Polished concrete is durable, and there's no coating to peel. The catch is that it offers less stain protection than a coating, so brake fluid and oil can leave their mark. It's also slick when wet, which is a genuine concern in a garage where cars drip snow and rain. Pricing varies too much by job to quote here.
Road Salt and Freeze-Thaw: The Deciding Factor
If you live in salt country, this is where the decision gets made. Every winter drive brings brine into the garage on your tires and wheel wells. On a seamless coating, it sits on top where you can see it and squeegee it out. On tiles, it can work down through the seams and sit against the concrete, out of sight, through repeated freeze-thaw cycles. That hidden moisture is the thing that should worry you most.
Whatever floor you pick, get the salt off the car too. Our detailing basics guide covers the washing routine that keeps winter grime from becoming a corrosion problem. Riders should also read how to store a motorcycle for winter, since a bike parked on a damp floor all season has its own set of issues.
Keep a floor squeegee by the door in winter. Pushing meltwater out after each salty drive does more for your floor than any coating spec sheet.
Our Verdict: Match the Floor to the Garage
Here's where we land, without hedging.
- Renters: tiles, full stop. They're removable and need no grinding, and your landlord never has to know about your floor ambitions.
- Working shops and heavy DIY garages: tiles if you need flexibility or plan to move, a coating if you own the place and can live with the jack stand caveat being solved by a proper surface.
- Daily drivers in salt country: a seamless coating. Seams and road salt are a bad combination, and this is the one scenario where we'd steer you away from tiles.
- Owners with the budget and patience: epoxy base, polyaspartic topcoat, professionally ground.
The floor also ties into the bigger picture of protecting what's parked on it. If you store a collector car, think about the floor alongside insurance and storage decisions. If you're mid-project, factor it in with the overall cost to restore a classic, since a week of cure time can stall a build. And a clean, stain-showing floor is surprisingly useful for your maintenance cadence: a fresh drip under a low-mile classic is easy to spot on a light coating and easy to miss on dark tiles.
A Note on Sources
Read enough floor comparisons and you'll notice something: most are written by sellers of one option. Coating installers tend to point out tile seams. Tile sellers love mentioning peeling epoxy. Both are telling a version of the truth. We've kept this guide to points that show up consistently across sources, and we've flagged the prices as installer-quoted or materials ranges because your slab, region and square footage will move them. Get at least a couple of local quotes and ask each installer about prep before you sign anything.
Show Off the Finished Garage on GarageApp
A new floor tends to start a chain reaction. Suddenly the cars look better, the shop feels more serious, and you want people to see it. That's where GarageApp fits in. Add your cars to your Virtual Garage so the vehicles sharing that new floor are all in one place, and our guide on how to build your digital car garage walks you through it.
You can also document the floor project itself: the grind, the coats, the before-and-after. Post it, and the location-aware feed puts it in front of enthusiasts near you, which is a good way to find someone local who just went through the same installer shopping. If you're new here, start with what GarageApp is and go from there.
Comments (0)
Be the first to comment.
You need to be logged in to comment
Not a member yet? Join GarageApp to join the conversation.
Your comment has been sent!
Our GarageApp team will moderate your comment shortly.