

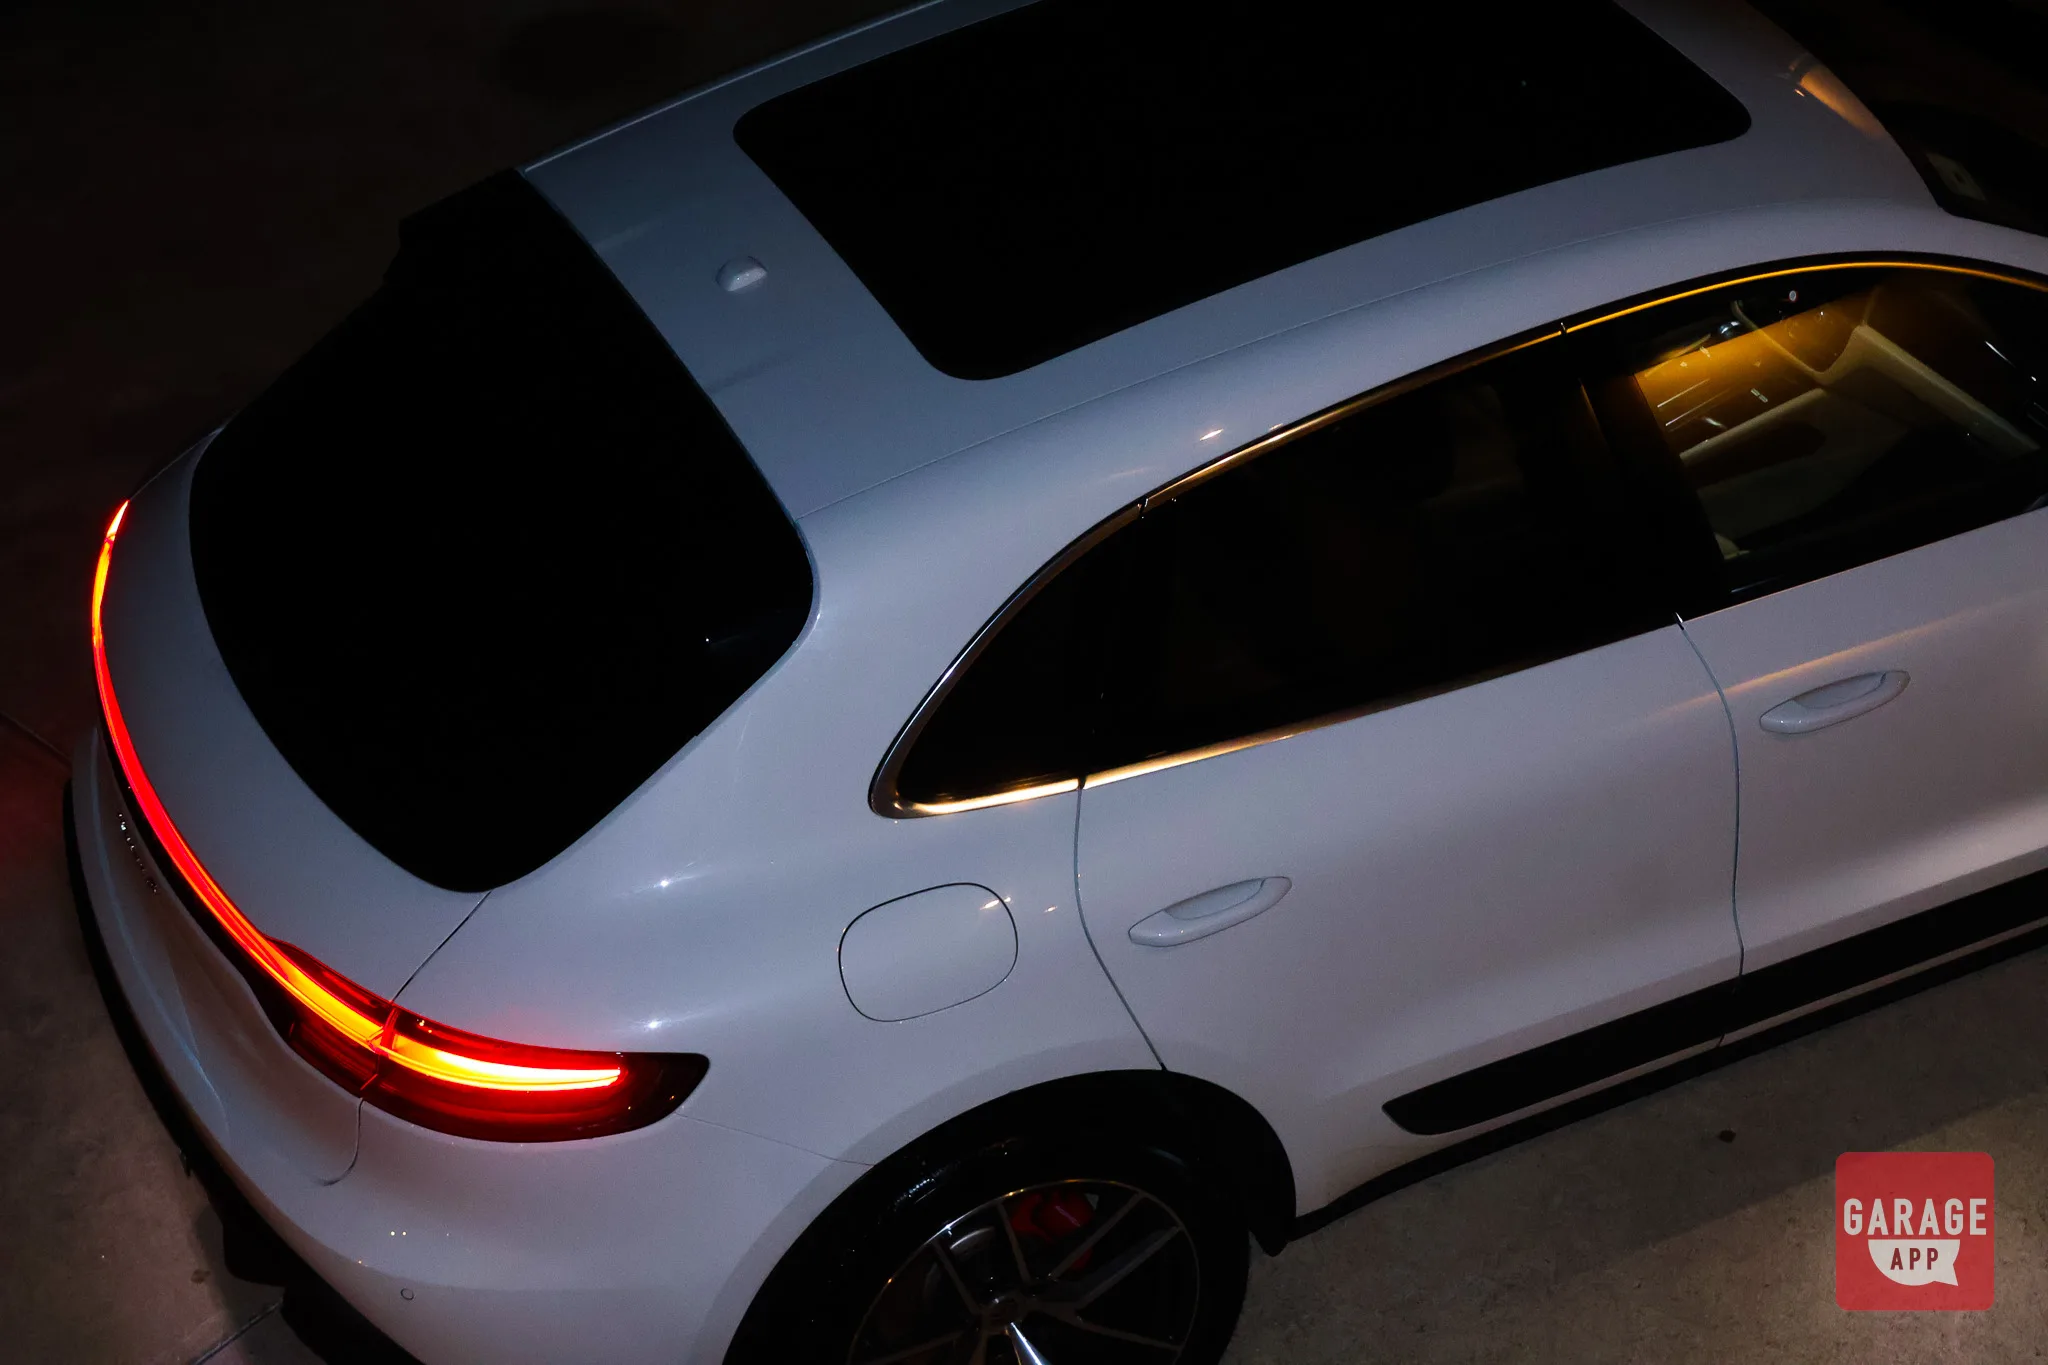
Night car photography comes down to a simple recipe. Put the camera on a tripod, set about f/8, ISO 100 to 400, and a 10 to 30 second exposure, then walk a continuous light along the car, keeping it moving. Blend a lit frame with a background frame afterward.
Then the fun starts. A car that looks ordinary in a parking lot at noon can look like a magazine cover once the sun goes down and you control every photon that hits the paint. The daylight fundamentals of angles, lenses, and composition still apply, and you can brush up on them in our winter car photography guide. This article is the after-dark companion: long exposure car photography, car light painting, and car light trails, one step at a time.
1. Gear: The Tripod Is Not Optional
You can skip a lot of gear for night work, but not the tripod. A sturdy tripod is mandatory because your shutter will stay open for seconds, not fractions of a second, and any wobble turns crisp body lines into mush. Pair it with a remote release or the 2-second self-timer so pressing the button doesn't shake the camera.
For light, a good flashlight or a handheld LED panel is all you need to start. One more thing people forget: turn off image stabilization when the camera is locked down on a tripod.
Set your camera up, turn stabilization off, and fire a few test frames before the light drops. Fumbling with menus in the dark wastes the best minutes of the evening.
2. Settings for Long Exposure Car Photography
Switch to manual mode and take full control. Auto modes get confused by a dark scene with one bright flashlight moving through it, and you'll fight the camera all night.
| Setting | Starting Point | Notes |
|---|---|---|
| Mode | Manual | You control everything |
| Aperture | f/8 to f/11 | Start around f/8 |
| ISO | 100 to 400 | Keep it low |
| Shutter speed | 5 to 30 seconds | Light trails start around 10 seconds |
| File format | RAW | More room to edit later |
| Stabilization | Off | Only when on a tripod |
Shoot RAW, always. You'll be blending and adjusting these files later, and RAW gives you the latitude to pull detail out of shadows and tame bright spots.
3. When to Shoot: Blue Hour Car Photos
Pitch black isn't actually the sweet spot. Blue hour, roughly 20 to 40 minutes after sunset, gives you a deep blue sky that still holds some color while the ambient light is low enough for your flashlight to do the heavy lifting. The sky and your light painting balance each other instead of one overpowering the other.
Show up before sunset, get set up, and be ready to work fast once the window opens. It doesn't last long.
4. Car Light Painting Technique
Here's where it gets hands-on. Open the shutter, then walk along the car with your light aimed at the bodywork. The golden rule: keep the light moving. If you pause, you'll burn a hotspot into the panel that's hard to fix later.
- Never point the light at the lens. It creates streaks of the light source itself across the frame.
- Too bright? Stand farther back from the car rather than fighting it in editing.
- Work in passes. Light one section per exposure instead of trying to paint the whole car in one go.
Prep matters too. Every swirl and water spot shows up under a raking flashlight, so run through a quick detail routine before you head out. If the paint needs more than a wipe-down, start with our detailing basics.
5. Compositing: Lit Frame Plus Background Frame
Most great light-painted car shots aren't one exposure. They're a stack. Shoot a lit frame (or several) where you paint the car, and a separate background frame that captures the sky and surroundings without your light.
- Load all frames as layers in your editor.
- Set the lit layers to the Lighten blend mode.
- Use masks to keep only the parts of each layer you want, like a perfectly lit fender or a clean door reflection.
- Mask out any mistakes, including stray streaks or the glow of you walking through the frame.
Don't move the tripod between frames. Even a nudge means your layers won't line up, and the whole composite falls apart.
6. Car Color Changes Everything
White cars reflect light easily. A couple of quick passes and the paint glows. Black cars need far more light and more patience, since dark paint swallows it. Plan on more passes and more frames to stack when you're shooting something dark. Silver and mid-tone colors land in between.
The same principle applies if you're lighting a motorcycle, where dark tanks and black engine cases soak up light just like dark car paint.
7. Capturing Car Light Trails
Light trails are the classic city shot: your car parked and razor sharp while traffic streams past as ribbons of red and white. Start around 10 seconds and adjust from there. Because the car isn't moving, it stays crisp, while every passing car turns into a streak.
Experiment with timing. Fire the shutter as a cluster of cars approaches, and you'll get fuller, denser trails.
8. Reflections and Wet Pavement
Want instant drama? Wet pavement doubles every light source in the scene, and city light bouncing off glossy paint adds depth you just can't get in an empty field. Shoot after a rain shower and you'll see the difference immediately. A freshly cleaned, glossy finish makes those reflections even sharper.
9. Safety and Courtesy
Night shoots put you in the dark wearing dark clothes, often near roads. Stay well clear of traffic, especially when chasing light trails. Set up on sidewalks or shoulders where you're out of the way, never in a lane.
In residential areas, keep the noise down. No revving, no slamming doors, no music. The same respect you'd show at a meet applies here, and our photography etiquette guide covers the ground rules.
10. Shooting on Your Phone
Phone night modes are genuinely impressive for casual shots. Point, hold steady, and you'll get a clean, bright image. The tradeoff is limited control. You can't easily dial in a specific shutter speed or stack light-painted frames the way you can with a dedicated camera. For quick social posts, the phone is fine. For real light painting, grab the camera.
Where to Shoot Night Car Photography
- Empty parking lots: Wide open space, minimal traffic, and room to walk around the car with your light.
- Parking garages: Concrete textures and overhead lighting add an industrial mood.
- Your own garage: Total control and zero interruptions.
- City streets: The go-to for light trails and reflections.
Whatever the location, get permission on private property. A quick ask beats an awkward conversation with security halfway through your best exposure.
Scout your spot in daylight first. Note where the streetlights fall and where you can stand safely, so you're not guessing once it's dark.
Share Your Night Shoots on GarageApp
Once you've nailed a shot, give it a home. Post your night shoots to your Virtual Garage on GarageApp so the photos live alongside the car itself. If you haven't set one up yet, here's how to build your digital garage.
Share your favorites in the location-aware feed to reach enthusiasts nearby, and use local event discovery to find photo meets where other shooters are lighting up cars after dark. And if you're turning your photos into a channel, our guide to earning as a car influencer is a good next read.